Author: vstack313

  • Apple Cider Cupcake with Brown Sugar Buttercream

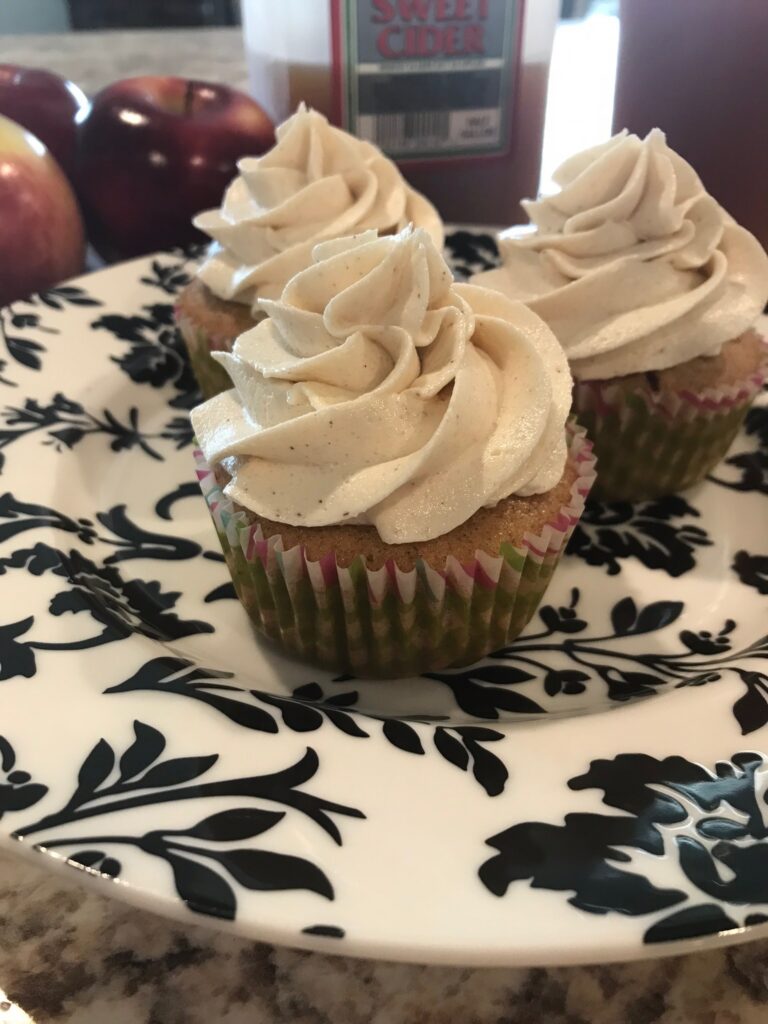
    When a bunch of people tag you or share the same recipe on your timeline on Facebook, you know this is a recipe you have to make! The Apple Cider Cupcakes and Brown Sugar Cinnamon Buttercream by wishesndishes.com sounded delicious, too. 

    I love Fall. It’s my favorite season. The smells of cinnamon and cloves everywhere are so heartwarming and uplifting. Wegmans sells these cinnamon scented pinecones right by the front door when you walk in; I inhale a bit deeper when I am walking in because it just smells so good. And don’t forget all the delicious desserts that pop up in the fall like pumpkin bread, zucchini bread, and now these apple cider cupcakes! 

    Even though it was like 84*F around here yesterday, I really wanted to make these cupcakes. The majority of the ingredients are something that every baker has on hand (i.e. Flour, Sugar, cinnamon, butter, etc…). For this recipe, I used local cider from Mayer Brothers Cider Mill (they are in no way affiliated with this blog and I was not paid to use their product). Their cider is always in our house starting in August til they close for the season in November. So deliciously refreshing!

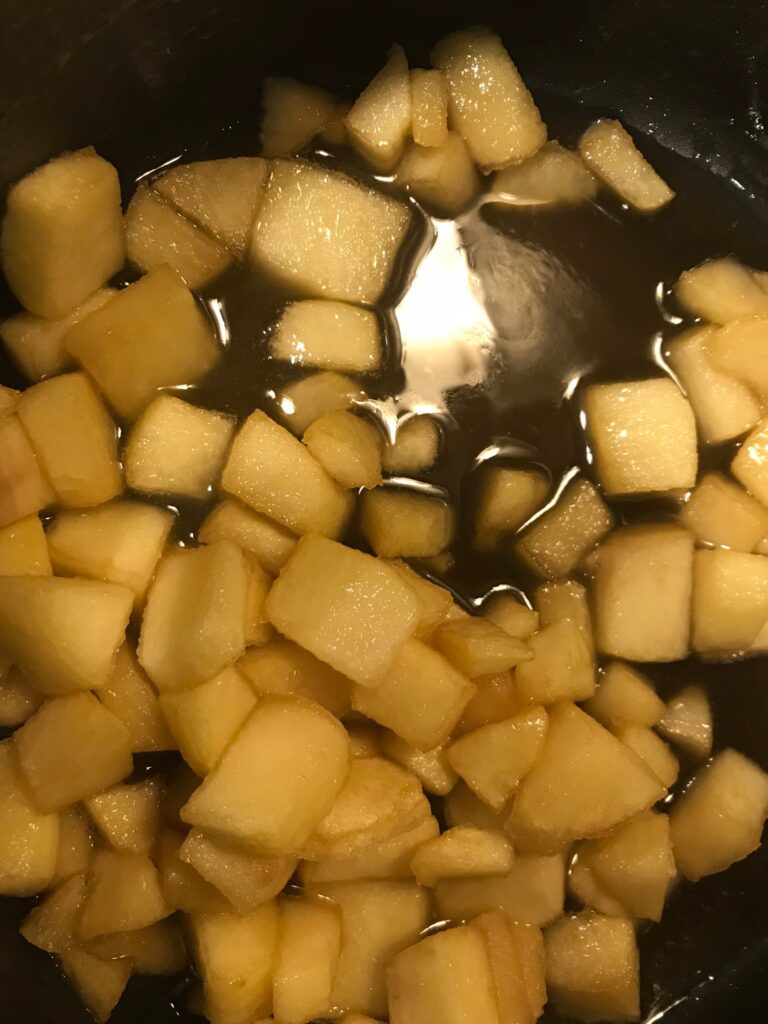
    Though this recipe is delicious on its own, I wanted to kick things up a notch, so I added caramelized apples as a filling in the cupcake! To make caramelized apples will take you about ten minutes and I think it’s totally worth the extra effort!

    Caramelized apples:

    • 2 tbsp unsalted butter
    • 2 tbsp brown sugar
    • 2 peeled and finely chopped apples (I used empire cuz that’s what I had in the house)

    1. Melt the butter in a small sauce pan, then add the brown sugar. Stir well. Add the apples. Cook for 5-10 minutes so that the apples get soft, but not too soft (you don’t want to make applesauce).

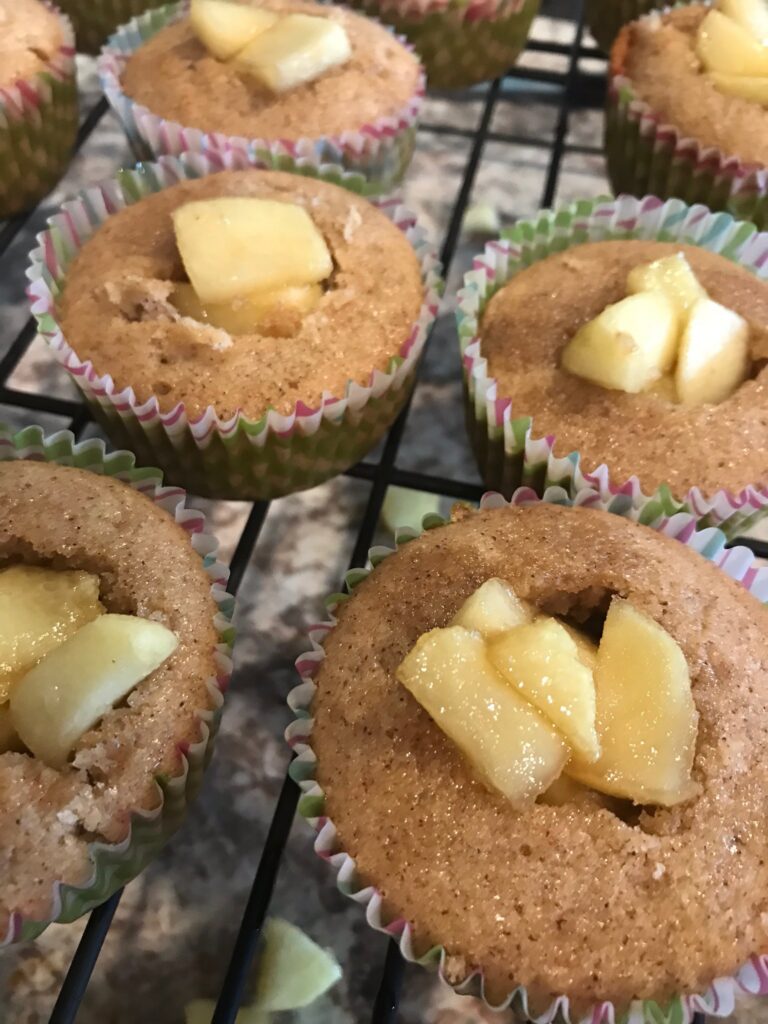
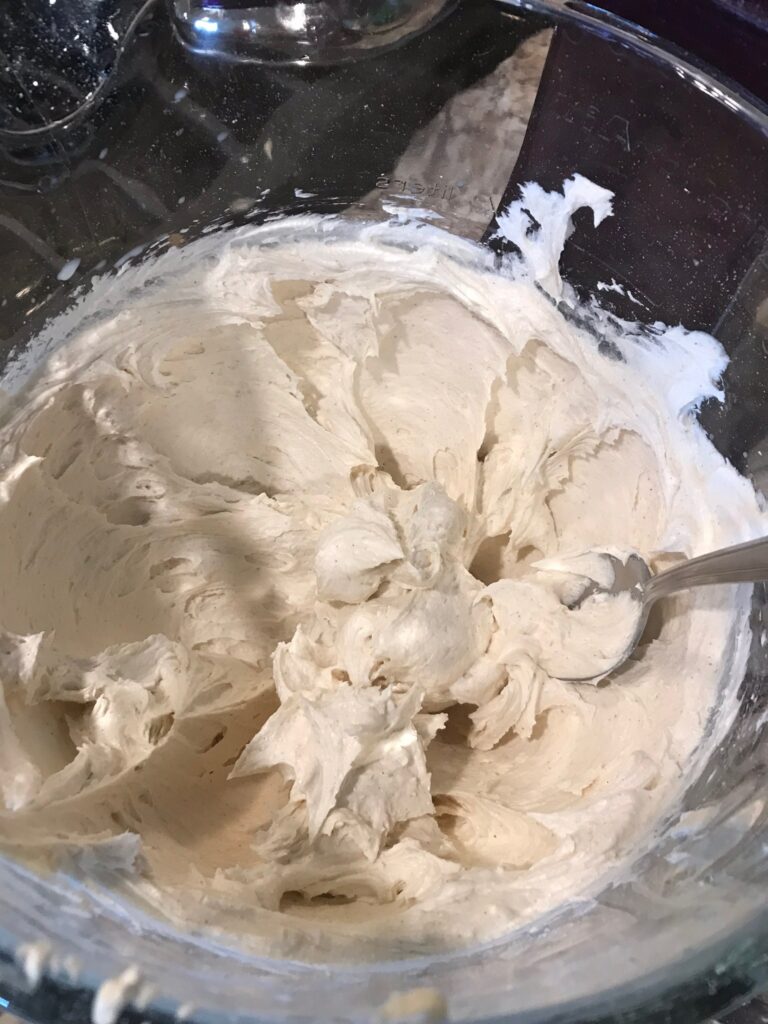
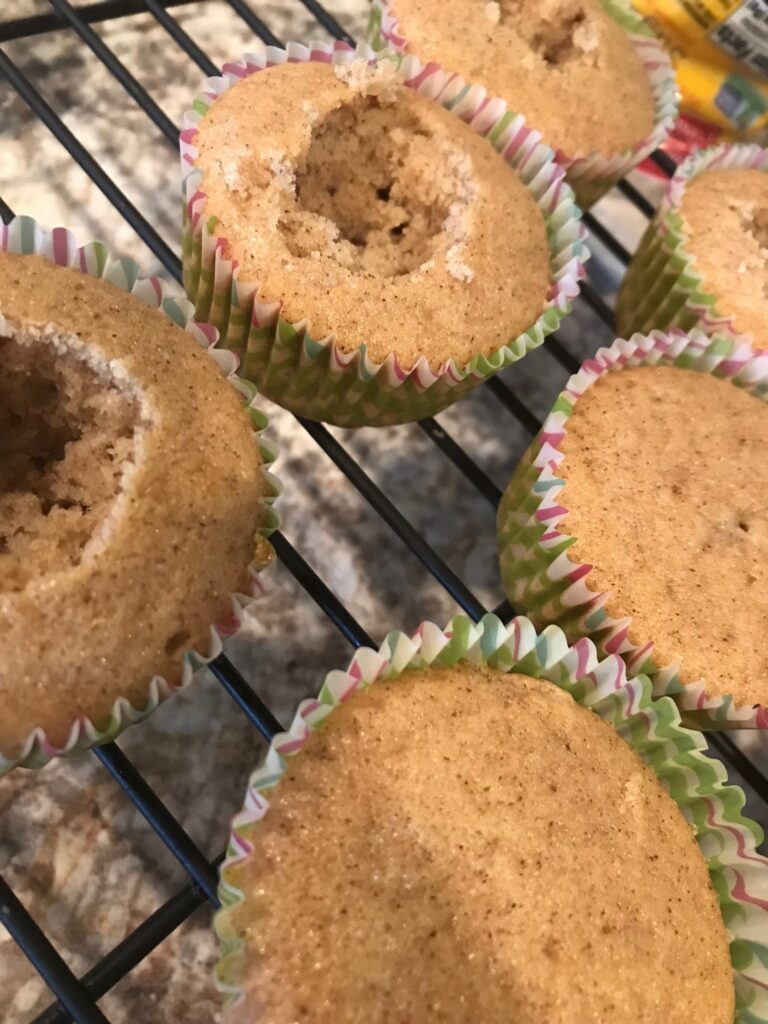
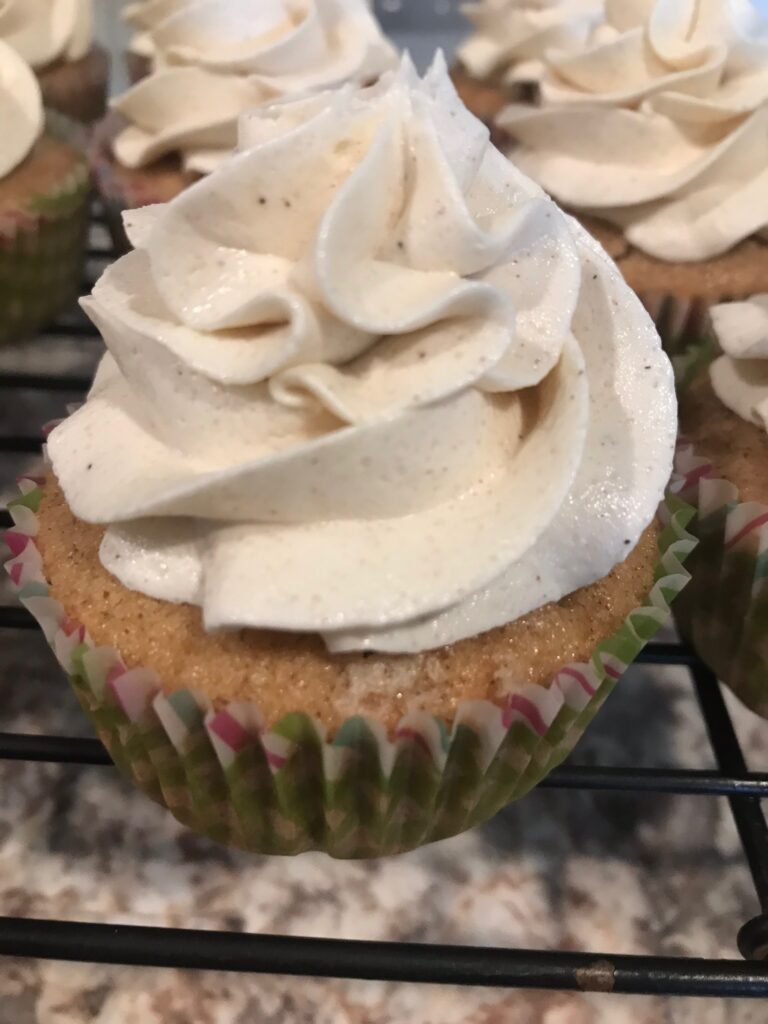
    After the cupcakes were baked, I simply took a steak knife and hollowed out the centers, but not all the way to the bottom. Then spooned in the apples. Once everything was pretty cool, I topped the cupcakes with that delicious brown sugar buttercream. 

    You can also use a large decorating tip to hollow out cupcakes. I even think there is a Wilton set for hollowing and filling cupcakes. 

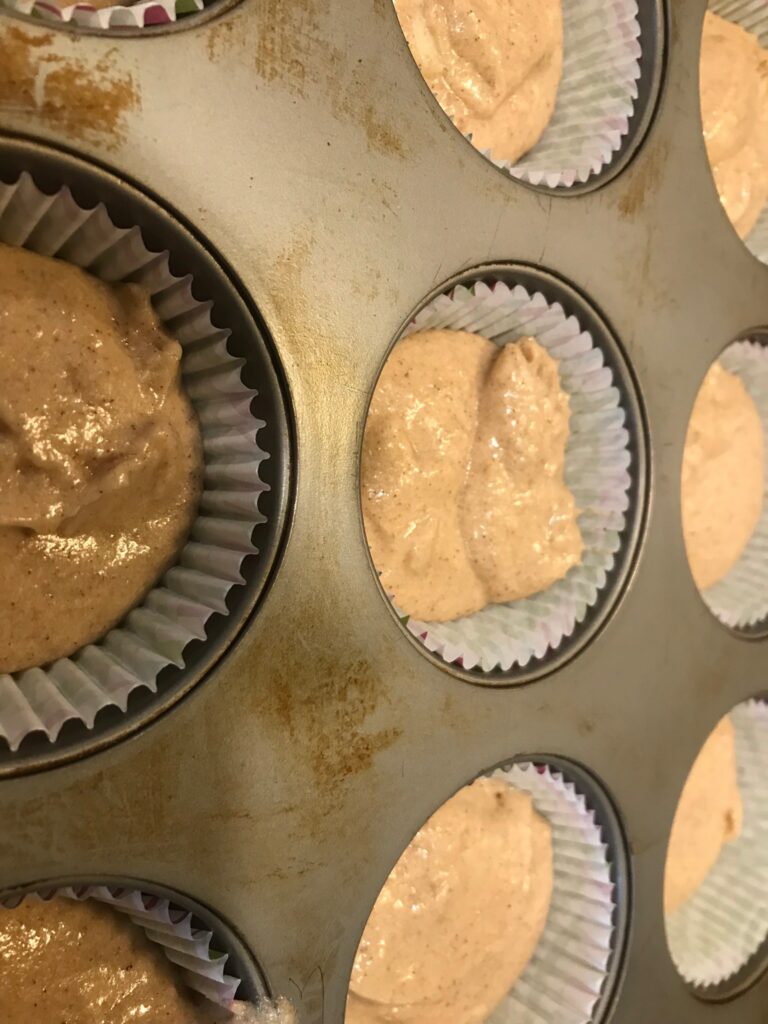
    Please ignore how my pan looks in the photos below. I’ve had it for over 10 years and it’s been used probably 500x or more. I love it because it has these thick rubber handles on the sides (not pictured) so it’s really easy to get out of the oven. I have another pan that doesn’t have handles and I almost always stick my oven mitt’s thumb right into a baked cupcake.
    Buttercream
  • Chocolate Chip Cookies

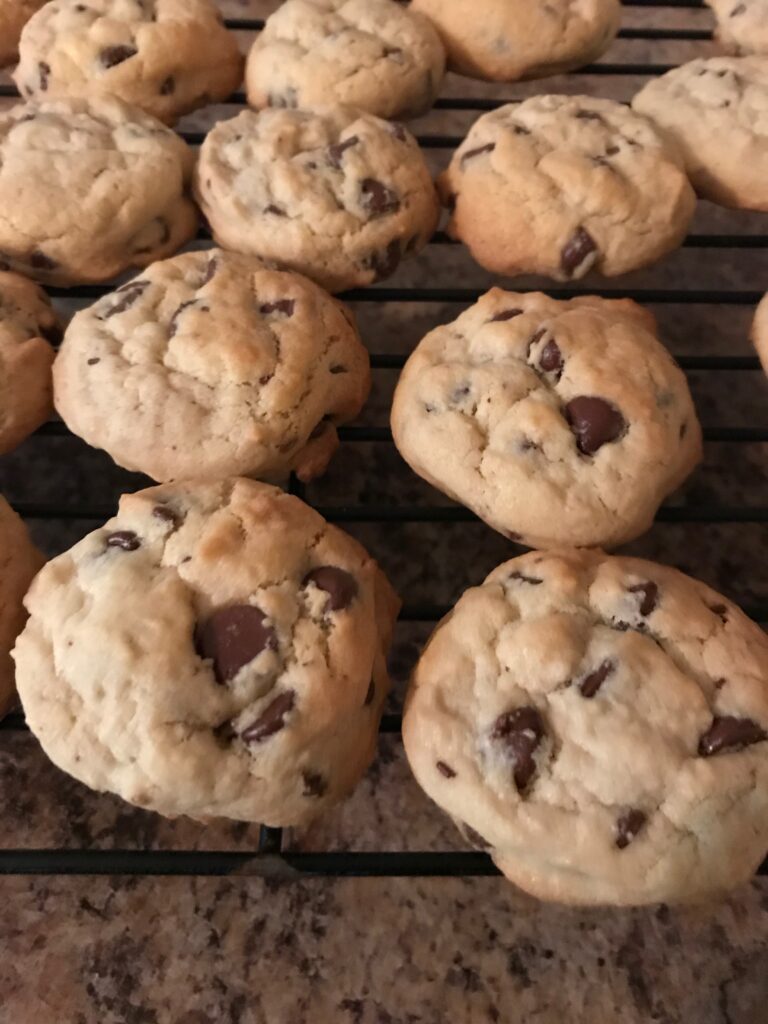
    A staple in our home is a delicious chocolate chip cookie. Whether the weather is snowing and blustery or it’s sunny and warm, anytime is the right time to enjoy a warm chocolate chip cookie. 

    I have never liked the crispy cookies that you find at groceries stores, so for years I have been baking my own the way that I like them – nice and chewy! This is the recipe I have been using for many years and it always has come out perfectly. 

    You can make these using a stand mixer, a hand mixer, or even mix them manually. I have done it all three ways and I can honestly say that if you mix them manually, they will have a different texture – still good, just different. 

    One other thing I want to mention is to ensure that your ingredients are fresh. For example, don’t use baking soda that’s been sitting in the back of the cabinet for 6 months. Odds are that the baking soda isn’t going to help and it may make these cookies flat, gross, and burn easily. So toss it and get a new box. 

    I have a horrible cookie addiction. I just can’t help myself when cookies are around. They are so tasty, especially if they are fresh. This recipe doesn’t make a ton of cookies because if I have a ton of cookies laying around, I will eat them all. 

    Here are the ingredients that you will need for this recipe:

    – 1/2 cup unsalted butter, room temperature

    – 1/2 cup light brown sugar

    – 1/4 cup granulated sugar

    – 1 tsp vanilla extract

    – 1 egg

    – 1/2 tsp baking soda

    – 1/4 tsp salt

    – 1 1/2 cups all purpose flour

    – 1 cup (or more) of semi-sweet chocolate chip cookies

    Here’s the steps to make these delicious cookies:

    1. Heat the over to 365 F. Most recipes say to bake chocolate chip cookies at 375, but I have found that baking at 365 bakes them more evenly (at least in my oven). 

    2. Mix the sugars and the butter. Once they are creamed together well, add in the vanilla extract, and then the egg. 

    3. Add in the flour, soda, and salt. Many people say to mix the three dry ingredients together before incorporating into your wet ingredients. I have never done this and never had an issue with how my cookies turn out. I do typically use a stand mixer, but even when I manually mixed, they came out good. I think if you were working in a larger batch, then it would be a good idea to mix the dry ingredients together first. 

    4. Add in the chocolate chips and eat some, for quality control of course 😉

    5. Using a cookie scoop, melon baller, or two spoons, place rounded scoops of the dough on your UNGREASED cookie sheet. If you’re not going to remove the cookies from the pan within 10 minutes of baking, then please use parchment paper or else they’ll stick to the pan and you’ll have a mess. 

    6. Bake the cookies for 8-10 minutes at 365F. If you have a convection oven, then these could be done in as little as 6 minutes, so please check your oven at 6 minutes. The bottom should have a nice golden brown and a little on top too. 

    7. Remove from the pan after cooling for 2-3 minutes. 

    8. ENJOY!

  • Cinnamon Rolls

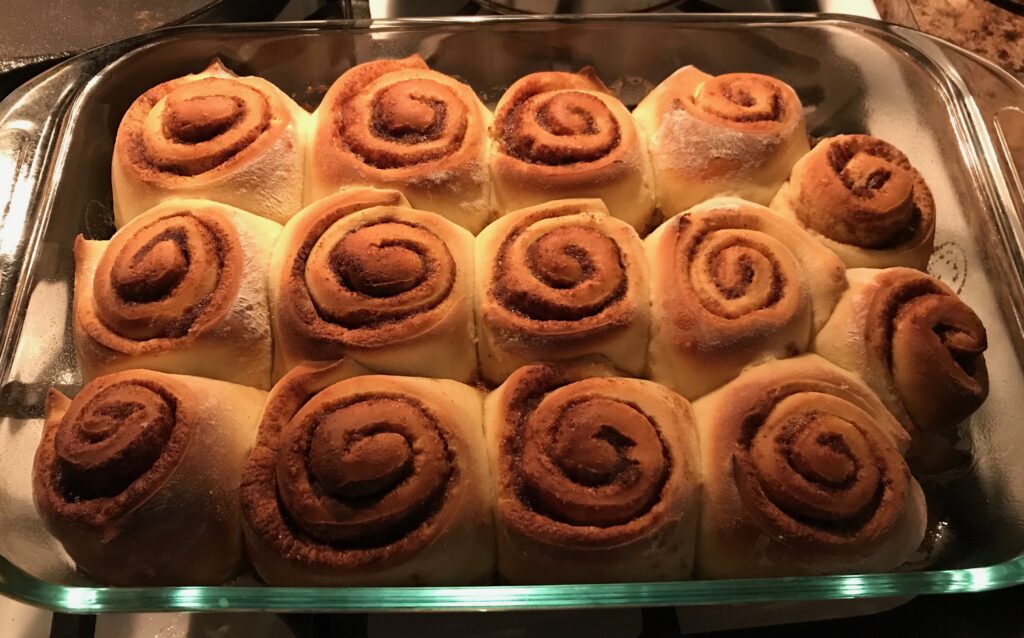
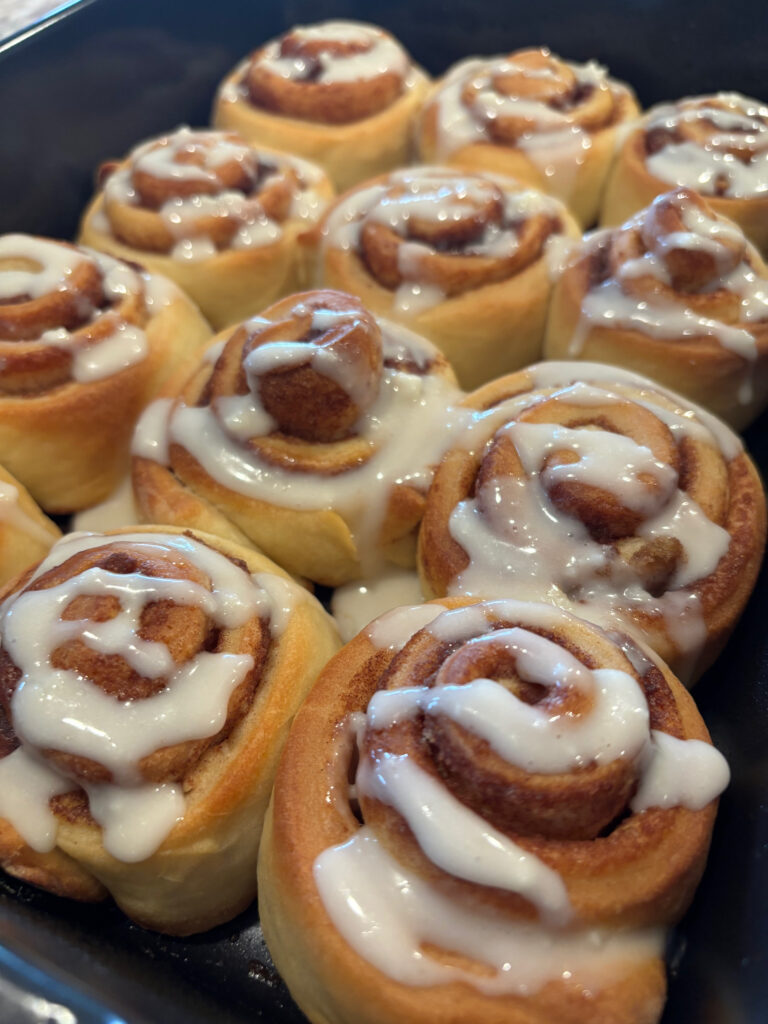
    You don’t need a special event or occasion to enjoy a deliciously soft cinnamon roll! These are full of soft brown sugar, cinnamon, and topped with cream cheese icing. Get a glass of milk or a cup of coffee to pair with these, settle into your favorite chair, and enjoy!

    Note: These do take time to make. Don’t think you’re making cinnamon rolls while watching one episode of your favorite show. These take time to rise (twice!).

    Here’s what you’ll need:

    Rolls:

    1 packet or 2 1/4 tsp of active yeast

    1 tbsp granulated or light brown sugar

    1 cup of milk (I use 1% milk) heated up to about 100 degrees (F)

    1/2 cup of melted unsalted butter (if you use salted, then omit the additional salt)

    1/2 tsp salt

    2 eggs

    3 1/2 – 4 cups of all purpose flour

    Filling:

    1/2 cup light brown sugar

    1 tbsp of cinnamon (I like Vietnamese cinnamon)

    1/2 stick melted butter

    Icing:

    1/2 brick (4 oz) cream cheese

    1/4 cup (1/2 a stick) of unsalted butter

    pinch of salt

    2 – 3 cups of powdered sugar

    2 – 3 tbsp of milk

    Here’s what you need to do:

    1 – You need to bloom your yeast. This basically is a step to make sure that your yeast is still active. Mix the yeast with the 1 tbsp of sugar and heated milk. If your milk is too hot, it will kill the yeast, so temperature test it BEFORE you mix these together. Wait 5-10 minutes. If it’s foamy, you’re good to go. If nothing happened, your yeast is no good and you’ll need to get some new yeast. Do not proceed if the yeast did not activate.

    2 – Once the yeast has bloomed, add the remaining ingredients for the rolls into a stand mixer, and use a dough hook or your dough roller system (depending on which mixer brand you use). You can mix by hand, but ensure you hydrate first as that will take a bit of work.

    3 – Place the dough ball into a greased bowl and cover with a clean tea towel. Let it rise in a warm place for 1 hour to 90 minutes. The cooler the area, the longer it will take to rise. I like to place mine in the oven with the oven light on.

    4 – If the dough has doubled in size, then you’re ready to punch it down to get out the air. Lightly dust the clean surface you’ll be working on with flour. Roll the dough into a rectangle. Pour the melted butter onto the rectangle or using a pastry brush to spread it. Next, mix the brown sugar and cinnamon together and then spread over the melted butter. Some people like to make a paste of the melted butter and sugar mix, but I’ve had leakage issues with that before so I don’t do that. Try it if you want though.

    5 – Roll the dough up fairly tightly so that you have a long roll of dough. Using unflavored dental floss or a really sharp knife, cut the dough into sections. Your yield will depend on how big you cut the rolls. Usually I do 2″ cuts.

    6 – Place in a greased 9×13 pan leaving space between rolls, cover with that towel again and let rise for about 30-45 minutes.

    7 – Heat oven to 350 degrees (F).

    8 – After the rolls have grown again (usually a little less than double on the second rise), you can stick them in the oven and bake for 20-25 minutes. A convection oven will generally have a shorter bake time, so watch your oven carefully. Once they’re golden brown on top, take out and let cool before frosting.

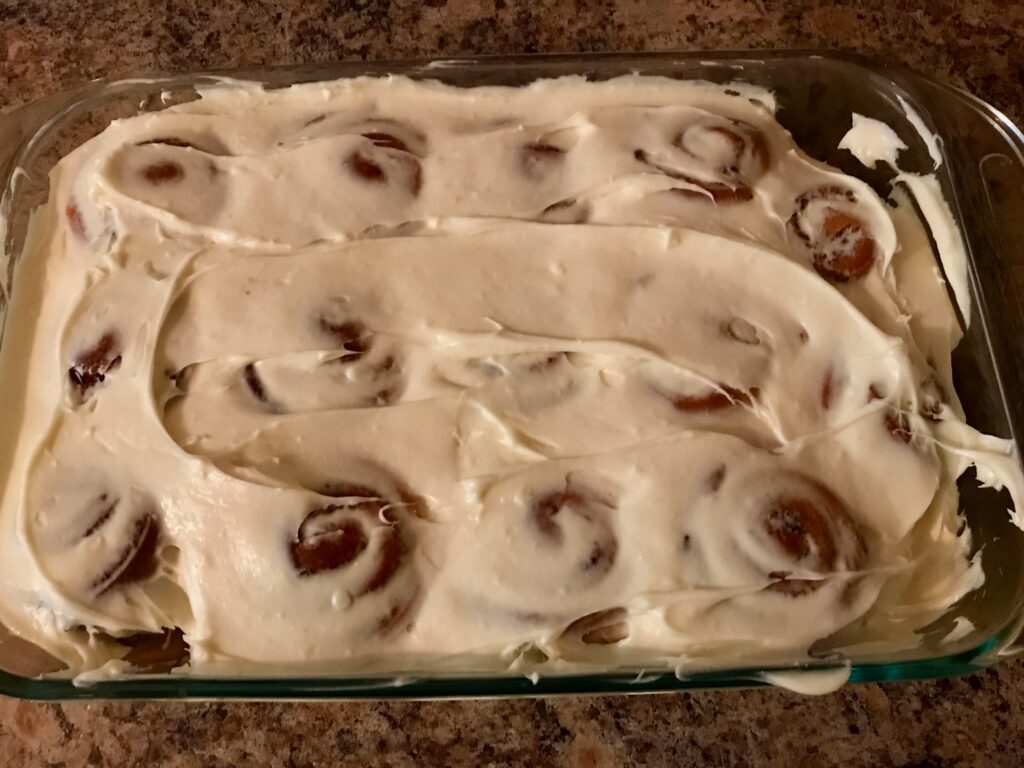
    9 – Make the frosting by mixing the sugar, cream cheese, salt, milk, and butter together. Use enough milk to get the consistency you’d like. Frost the rolls as desired.

    10 – ENJOY!

    I told you it takes time, but TOTALLY worth it!